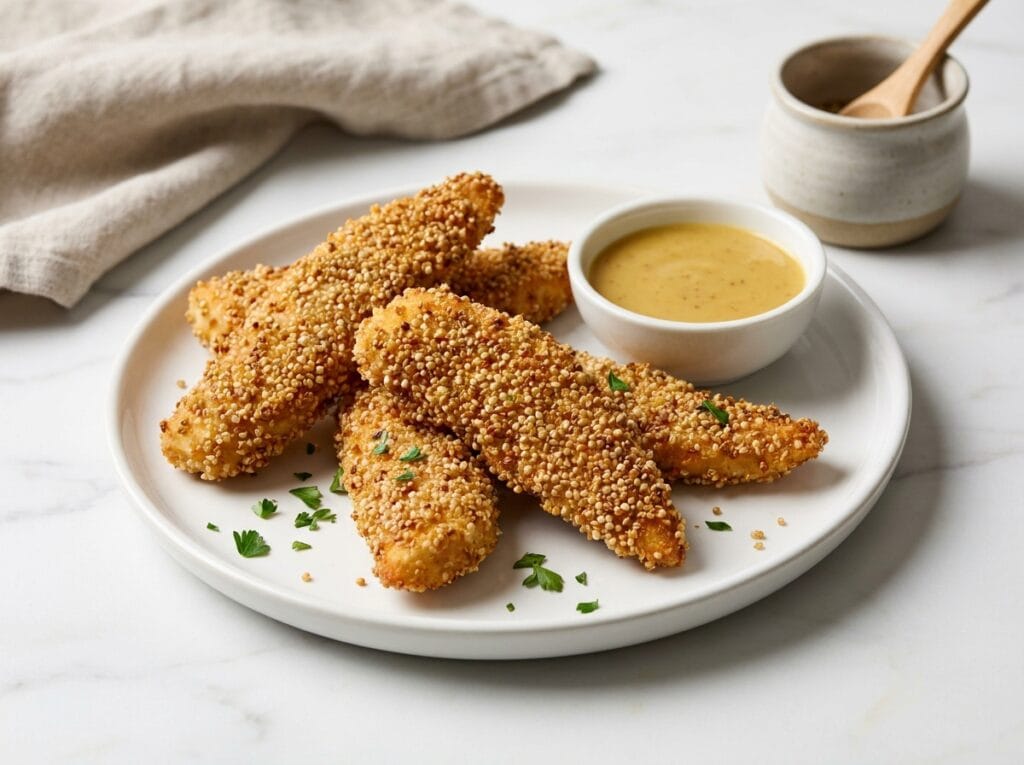
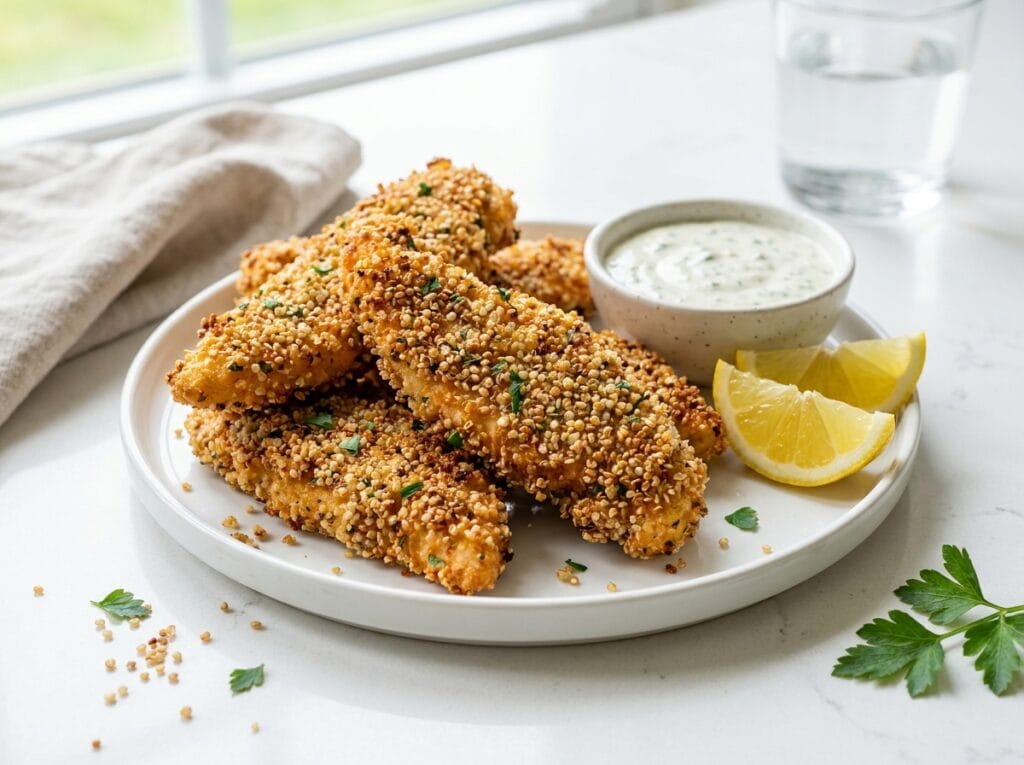
These Chicken Fingers with Toasted Quinoa Crunch are crispy, golden, and packed with flavor without relying on traditional breadcrumbs or deep frying. The toasted quinoa coating creates an incredibly crunchy texture while keeping the recipe high in protein, gluten-free, and perfect for a healthier family dinner.
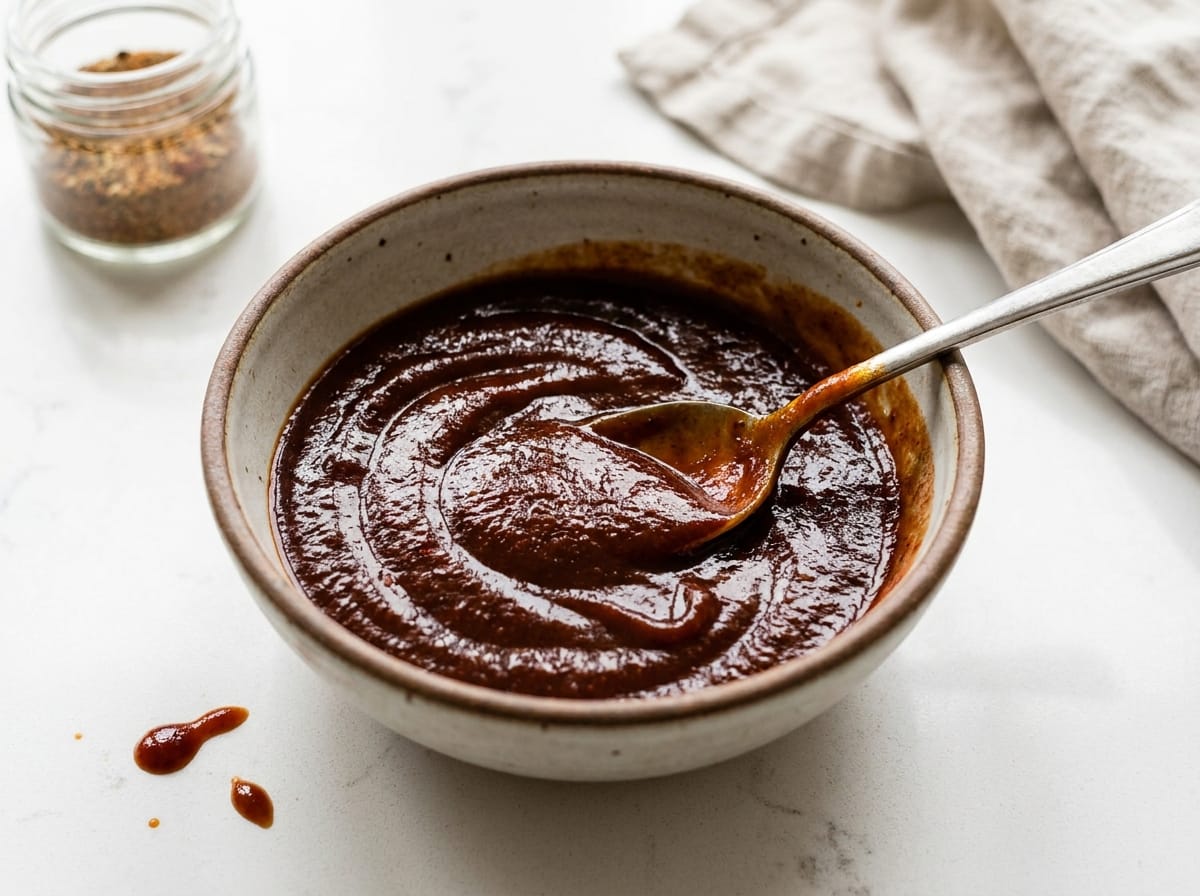
They’re perfect for meal prep, lunch boxes, game nights, or easy weeknight dinners. Serve them with homemade sugar-free BBQ sauce, garlic herb dip, or a fresh cucumber salad for a complete meal.
Inspired by the comforting step-by-step recipe style you prefer
Why You’ll Love This Recipe
- Crispy without breadcrumbs
- High-protein and gluten-free
- Kid-friendly and meal-prep friendly
- Healthier than fried chicken tenders
- Great for dipping sauces
- Packed with crunchy texture
- Easy oven-baked recipe
Ingredients
Ingredients for Chicken Fingers
- 2 large chicken breasts, cut into strips
- 1 cup cooked quinoa
- 1 tablespoon olive oil
- 1/2 cup almond flour
- 2 eggs
- 1 teaspoon garlic powder
- 1 teaspoon onion powder
- 1 teaspoon smoked paprika
- 1/2 teaspoon black pepper
- 1 teaspoon sea salt
- 1/2 teaspoon dried oregano
Optional Dipping Sauce
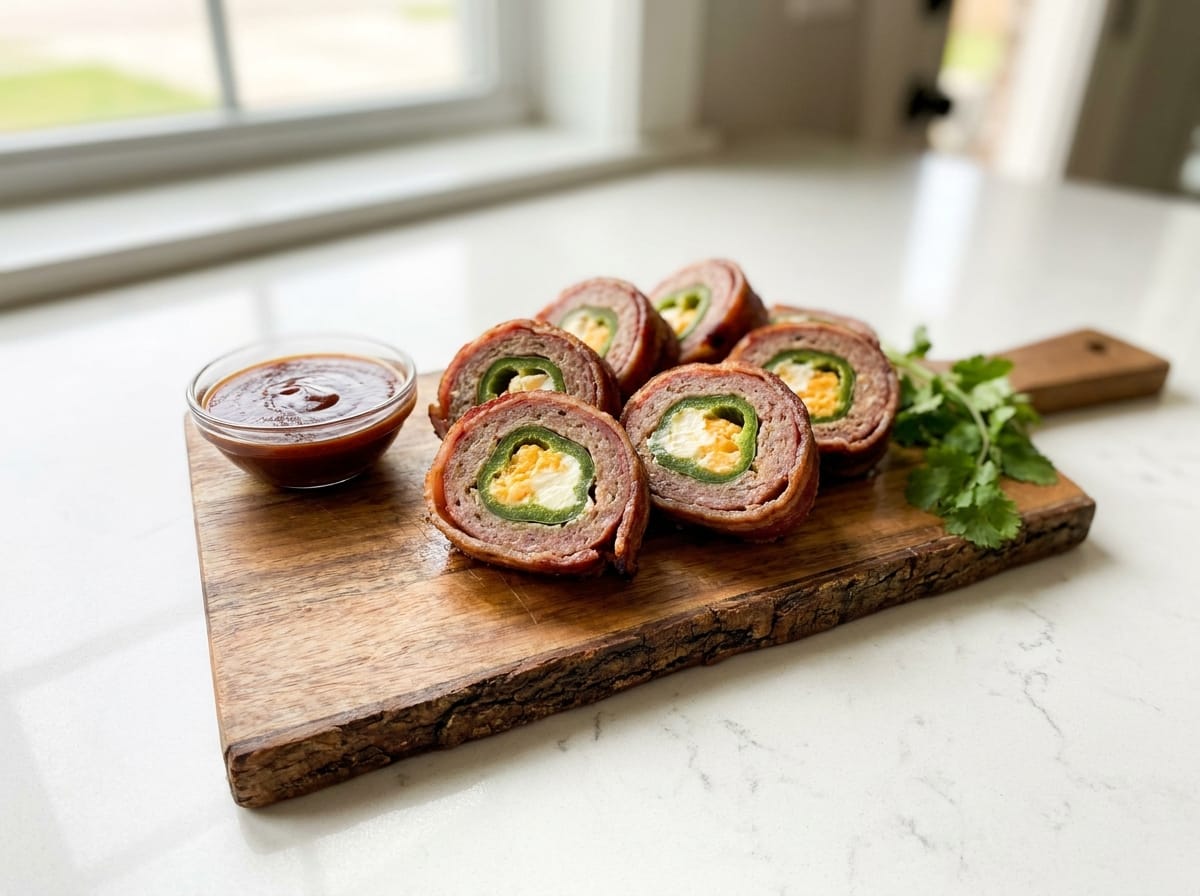
- Sugar-free BBQ sauce
- Garlic yogurt sauce
- Paleo ranch dressing
Instructions
Step 1: Toast the Quinoa
Preheat your oven to 425°F (220°C).
Spread the cooked quinoa onto a baking sheet lined with parchment paper. Drizzle lightly with olive oil and bake for about 15 to 20 minutes, stirring once halfway through, until the quinoa becomes golden and slightly crispy.
Remove from the oven and let cool slightly.
Step 2: Prepare the Coating Station
In one shallow bowl, whisk the eggs.
In a second bowl, combine the almond flour, garlic powder, onion powder, smoked paprika, oregano, black pepper, and sea salt.
Place the toasted quinoa into a third bowl.
Step 3: Coat the Chicken
Pat the chicken strips dry with paper towels.
Dip each chicken strip first into the almond flour mixture, then into the beaten eggs, and finally coat completely in the toasted quinoa. Press gently so the quinoa sticks well to the chicken.
Step 4: Bake Until Crispy
Place the coated chicken fingers on a parchment-lined baking sheet or wire rack.
Lightly spray or brush the tops with olive oil for extra crispiness.
Bake for 18 to 22 minutes, flipping halfway through, until the chicken is fully cooked and golden brown. The internal temperature should reach 165°F (74°C).
Step 5: Serve Hot
Serve immediately with your favorite dipping sauce and fresh lemon wedges if desired.
Tips for the Crispiest Chicken Fingers
- Use fully cooled quinoa for better crunch.
- Pat the chicken dry before coating.
- Bake on a wire rack for maximum crispiness.
- Don’t overcrowd the baking sheet.
- Add parmesan cheese to the almond flour mixture for extra flavor if not strictly paleo.
Delicious Serving Ideas
These crunchy chicken fingers pair perfectly with:
- Roasted vegetables
- Fresh cucumber salad
- Cauliflower fries
- Low-carb coleslaw
- Avocado dipping sauce
- Sweet potato wedges
Storage Tips
Store leftovers in an airtight container in the refrigerator for up to 4 days.
To reheat, bake in the oven or air fryer at 375°F for 5 to 7 minutes to restore crispiness.
You can also freeze the cooked chicken fingers for up to 2 months.
Frequently Asked Questions
Can I air fry these chicken fingers?
Yes. Air fry at 400°F for about 12 to 15 minutes, flipping halfway through.
Can I use uncooked quinoa?
No. The quinoa should be cooked first, then toasted in the oven for the best crunchy texture.
Is this recipe low carb?
It’s lower in carbs than traditional breaded chicken fingers and higher in protein.
Can I make these dairy-free?
Yes. This recipe is naturally dairy-free as written.