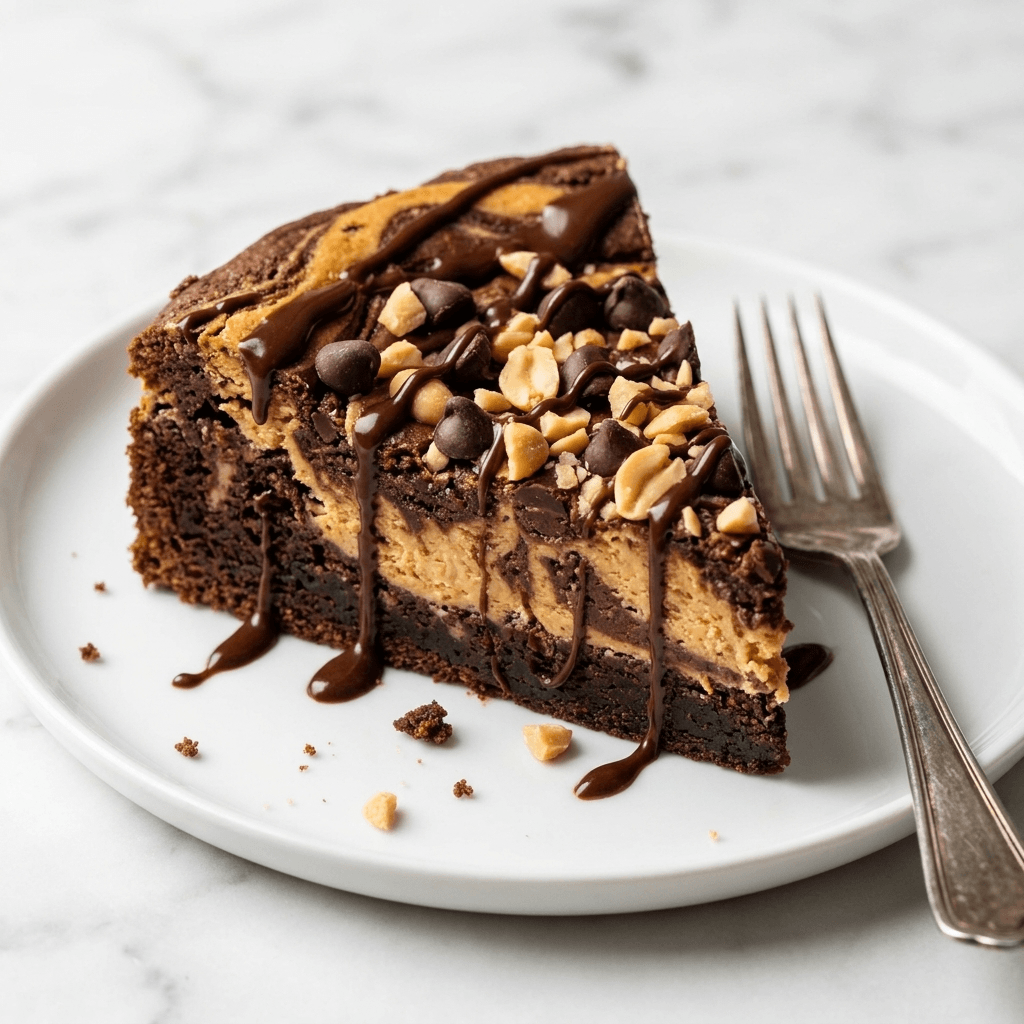
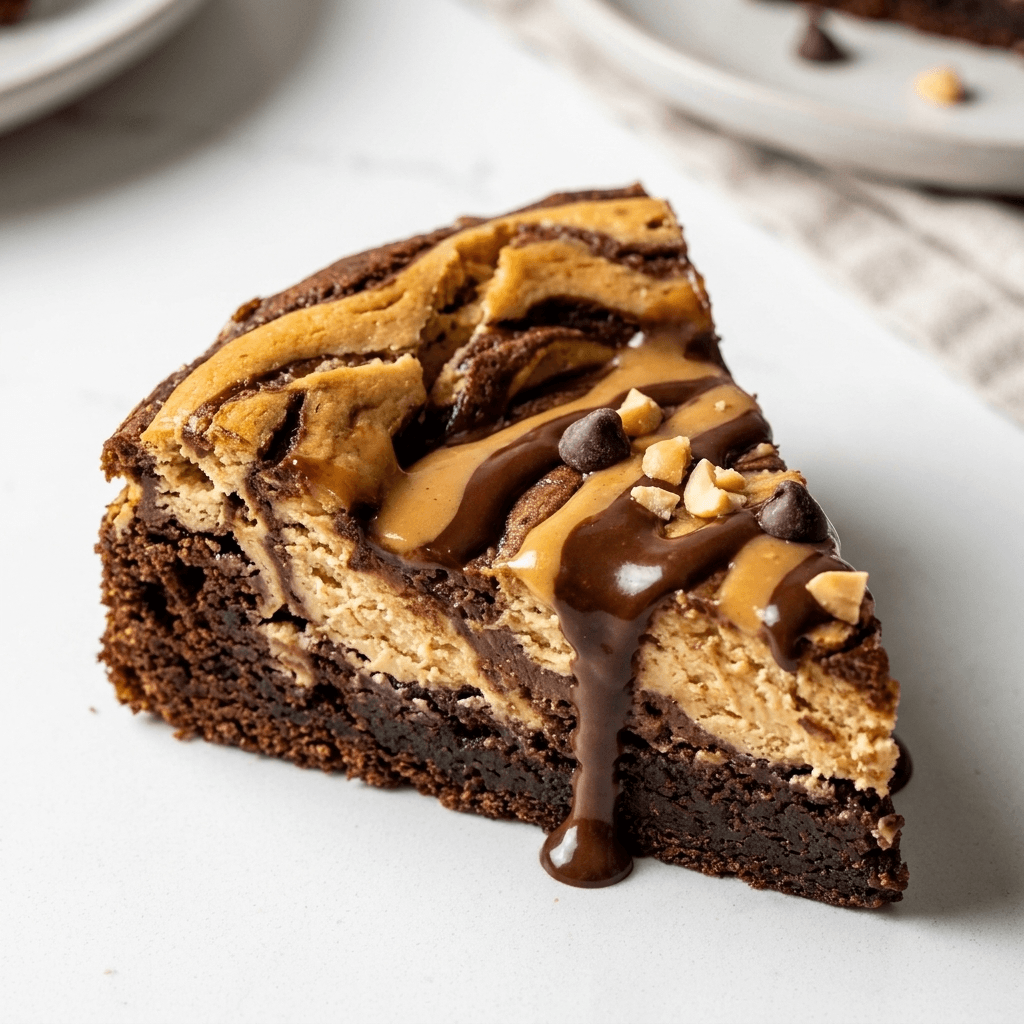
If you love rich peanut butter desserts but want something with less sugar, this Low Sugar Peanut Butter Earthquake Cake is about to become your new favorite treat. It has a soft chocolate cake base, creamy peanut butter swirls, pockets of cheesecake filling, and melty chocolate chips in every bite. The best part is that it looks beautifully cracked and gooey on top, giving it that classic “earthquake cake” texture without loading it with refined sugar.
This cake is perfect for family gatherings, weekend desserts, or whenever you want a bakery-style dessert that feels indulgent while staying lower in sugar. The combination of peanut butter and chocolate creates a deep, comforting flavor that tastes even better the next day.
Why You’ll Love This Recipe
- Lower in sugar than traditional earthquake cake
- Rich peanut butter and chocolate flavor
- Easy to make with simple ingredients
- Soft, gooey, and creamy texture
- Great for parties and meal prep desserts
- Can be made gluten-free with one swap
Ingredients
For the Cake
- 1 box low sugar chocolate cake mix
- Ingredients required on the box (usually eggs, oil, and water)
- 1/2 cup sugar-free chocolate chips
For the Peanut Butter Cheesecake Swirl
- 8 oz cream cheese, softened
- 1/2 cup natural peanut butter
- 1/3 cup monk fruit sweetener or erythritol
- 2 eggs
- 1 teaspoon vanilla extract
Optional Toppings
- Chopped peanuts
- Sugar-free chocolate drizzle
- Whipped cream
Instructions
Step 1: Prepare the Oven
Preheat your oven to 350°F (175°C). Grease a 9×13-inch baking dish lightly with butter or nonstick spray.
Step 2: Make the Cake Batter
Prepare the low sugar chocolate cake mix according to the package instructions. Stir in the sugar-free chocolate chips.
Pour the batter evenly into the prepared baking dish.
Step 3: Make the Peanut Butter Swirl
In a large bowl, beat the softened cream cheese until smooth. Add peanut butter, sweetener, eggs, and vanilla extract. Mix until creamy and fully combined.
Step 4: Assemble the Cake
Drop spoonfuls of the peanut butter mixture over the chocolate cake batter. Use a butter knife to gently swirl the mixture through the batter. Do not overmix because you want visible ribbons of peanut butter cheesecake throughout the cake.
Step 5: Bake
Bake for 38 to 45 minutes, or until the center is mostly set but still slightly gooey. The top should look cracked and uneven, which gives the cake its classic earthquake appearance.
Step 6: Cool and Serve
Allow the cake to cool for at least 20 minutes before slicing. Serve warm for a gooey texture or chilled for a denser cheesecake-style dessert.
Tips for the Best Peanut Butter Earthquake Cake
- Use natural peanut butter for a deeper roasted flavor.
- Do not overbake the cake or it may lose its gooey center.
- Chill leftovers overnight for an even richer texture.
- Add chopped peanuts for extra crunch.
- A drizzle of melted sugar-free chocolate makes it look bakery-style.
Storage Tips
Store the cake covered in the refrigerator for up to 5 days. Because of the cream cheese layer, refrigeration is recommended.
You can also freeze individual slices for up to 2 months. Let them thaw overnight in the fridge before serving.
Frequently Asked Questions
Can I use almond flour cake mix?
Yes. A low carb almond flour chocolate cake mix works very well in this recipe.
Is this cake keto-friendly?
It can be if you use a keto cake mix and sugar-free chocolate chips.
Can I make it ahead of time?
Absolutely. Many people prefer the flavor and texture the next day after chilling.
What makes it an earthquake cake?
The uneven cracks, creamy pockets, and swirls that form while baking create the “earthquake” look.